
I have a confession. I am addicted to deals!
I have been on a 'Junking' bender these last few weeks to try to finish decorating this new house. I am constantly on Craig's List looking for the perfect console table or arm chair. I am in Goodwill every other Saturday hoping to score a deal during the 50% off sale.
I have been on a 'Junking' bender these last few weeks to try to finish decorating this new house. I am constantly on Craig's List looking for the perfect console table or arm chair. I am in Goodwill every other Saturday hoping to score a deal during the 50% off sale.
Side note, if you haven't been to Goodwill on the 50% off sale day it is an experience. People are lined up before they open and it's a great way to get your "Black Friday" rush all year long. LOVE IT!!
And since I'm usually scouring through racks of vases, or sorting through the mirrors stacked in the corner I have found that the big purses I adore are not working out so well. Enter the wristet.
I. Love. Wristlets!
They are super functional and a great way to have everything you need with you and still use both hands to shop. Genius.
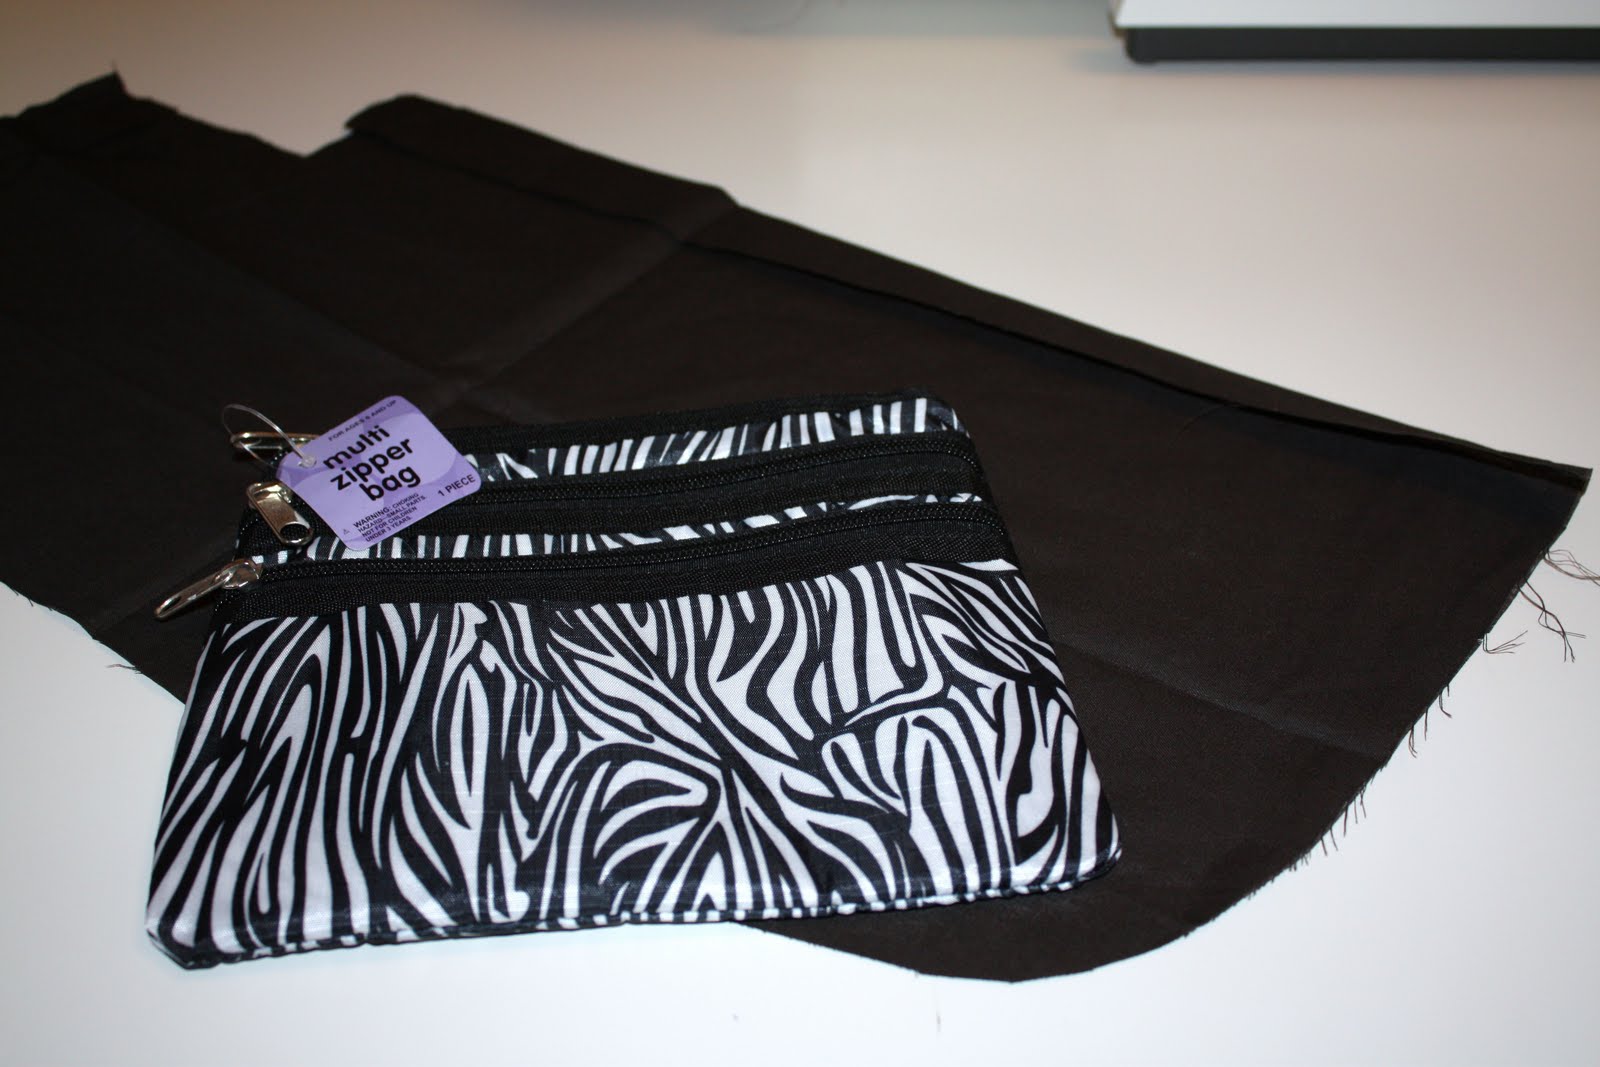
While shopping at my local Target I stumbled upon their back to school section and what would soon become my favorite wristlet. This beauty is being sold as a "multi zipper bag", but I saw potential for so much more. I love the larger than normal size, and the 3 individual compartments.
All that for only $2.50? SOLD!
All that for only $2.50? SOLD!
So here is a quick tutorial for how you can turn any small pouch into a wrislet in no time!

Supplies you'll need:
-small pouch
-coordinating scrap fabric (around 5"x16")
-seam ripper
-sewing machine
First, cut your scrap fabric to measure 5" x 16" (or as close as possible). Fold the fabric in thirds length-wise and iron. Fold the piece into thirds again and iron again. You should now have around a 1/2" x 16" strip of fabric.

Sew the strip of fabric right down the center with a straight or decorative stitch. You can also use contrasting thread for a little more unique design.
Now that the strap is done, you'll need to attach it to the bag. I recommend adding your strap to a seam near the top of the bag. I prefer to have my strap near the zipper pulls when the zippers are closed, but you can add it to either side.

Turn the bag inside out and find the seam where you want to attach the strap. Using your seam ripper, open up the seam in the bag to the width of your strap. Thread your strap into the opening, and leave about 1/2" to 3/4" of the ends sticking out.

Resew the side seam of the pouch with the strap in it. It will probably be pretty thick, so some hand sewing may be necessary.
Turn the bag right side out and there you have it. A quick sewing project to turn the perfect zippered pouch into a functioning wristlet.

You could use this idea to turn any pencil case, small makeup bag, or even a homemade pouch into a great wristlet.
You just have to find the time to make it happen!


.JPG)
.JPG)
.JPG)
.JPG)
.JPG)
.JPG)


